07 July 2023
WebRTC Node.js tutorial: Development of a real-time video chat app

A server that handles real-time communication is a must if you want to make remote connections between multiple devices. This happens to be a fairly common requirement in modern app development (and increasingly so!). The WebRTC specification makes it possible for browsers to communicate directly without any third-party support, making peer-to-peer audio and video communication much easier. If you want to see how it works, complete with a practical example of a video chat app based on it, check out this WebRTC overview!
What you’ll learn
Real-time is money, so I’m gonna get to the point. In this article, I’ll show you how to write a video chat application that allows for sharing both video and audio between two connected users. It’s quite simple, nothing fancy but good for training in the JavaScript language and – to be more precise – the WebRTC technology and Node.js.
More specifically, you’re going to find out more about:
- what WebRTC is and why this HTML5 specification means so much for the modern web development,
- the JavaScript API for WebRTC and its place in the Node.js ecosystem,
- why Node.js’s non-blocking approach to serving requests makes it a great choice for WebRTC,
- how to make a simple video chat app, including an app overview, code, as well as the handling of socket connections.
Let’s begin!
What is WebRTC?
Web Real-Time Communications – WebRTC in short – is an HTML5 specification that allows you to communicate in real-time directly between browsers without any third-party plugins. WebRTC can be used for multiple tasks (even file sharing) but real-time peer-to-peer audio and video communication is obviously the primary feature and we will focus on those in this article.
What WebRTC does is to allow access to devices – you can use a microphone, a camera and share your screen with help from WebRTC and do all of that in real-time!So, in the simplest way:WebRTC enables audio and video communication to work inside web pages.
WebRTC is already supported by major players such as Apple, Microsoft (WinRTC), Google, or Opera. The specification itself is available through the World Wide Web Consortium (W3C) and the Internet Engineering Task Force.
And what about using WebRTC in tandem with JavaScript and Node.js?
WebRTC JavaScript API
WebRTC is a complex topic where many technologies are involved. However, establishing connections, communication and transmitting data are implemented through a set of JS APIs. The primary APIs include:
- RTCPeerConnection – creates and navigates peer-to-peer connections,
- RTCSessionDescription – describes one end of a connection (or a potential connection) and how it’s configured,
- navigator.getUserMedia – captures audio and video.
And Node.js may be one of the very best ways to use the WebRTC JavaScript API.
Why Node.js for WebRTC?
To make a remote connection between two or more devices you need a backend server. In this case, you need a server that handles real-time communication. You know that Node.js is built for real-time scalable applications. To develop two-way connection apps with free data exchange, you would probably use WebSockets that allows opening a communication session between a client and a server.
Requests from the client are processed as a loop, more precisely – the event loop, which makes Node.js a good option because it takes a “non-blocking” approach to serving requests and thus, achieves low latency and high throughput along the way.
That’s about it for the theory. Let’s make an app! But what kind of app?
Read more:
Demo Idea: what are we going to create here?
We are going to create a very simple application that allows us to stream audio and video to the connected device – a basic video chat app. We will use:
- express – JavaScript library to serve static files like our HTML code file which stands for our UI,
- socket.io – JavaScript library to establish a connection between two devices with WebSockets,
- WebRTC – to allow media devices (camera and microphone) to stream audio and video between connected devices.
It looks like we’ve got some code to write!
Video Chat implementation
The first thing we’re gonna do in order to create the video stream app is to serve an HTML file that will work as a UI for our application. Let’s initialize a new node.js project by running: npm init. After that we need to install a few dev dependencies by running: npm i -D typescript ts-node nodemon @types/express @types/socket.io and production dependencies by running: npm i express socket.io.
Now we can define scripts to run our project in package.json file:
When we run npm run dev command, then nodemon will be looking at any changes in src folder for every file which ends with the .ts extension. Now we are going to create an src folder and inside this folder, we will create two typescript files: index.ts and server.ts.
Inside server.ts we will create server class and we will make it work with express and socket.io:
To run our web server, before we make a js file, we need to make a new instance of Server class and invoke the listen method, we will make it inside the index.ts file:
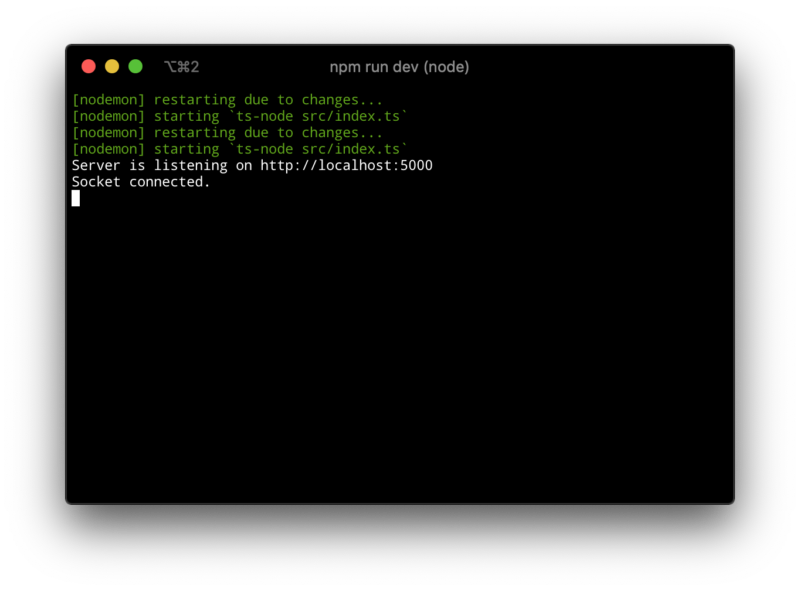
Now, when we run: npm run dev, we should see:
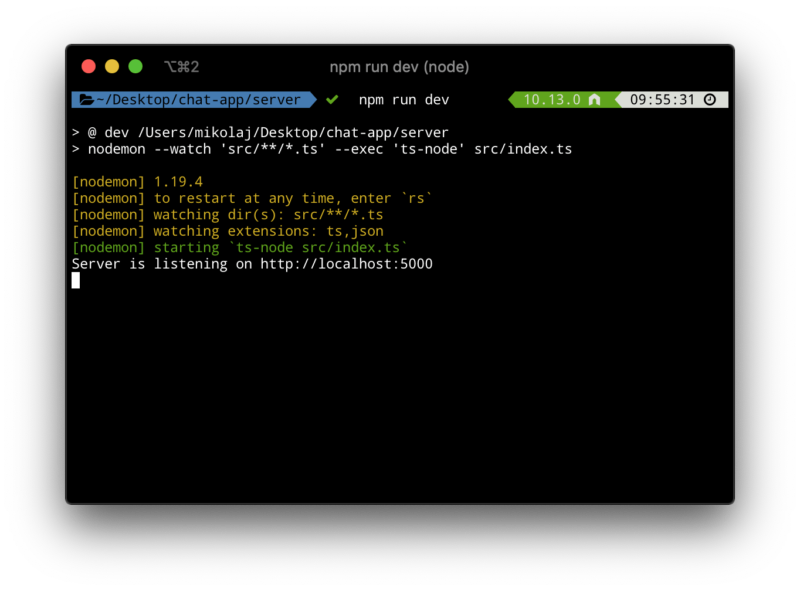
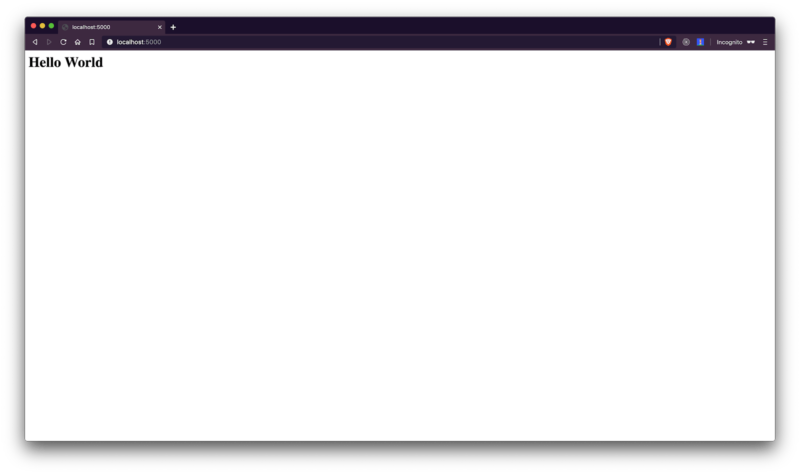
And when we open the browser and enter on http://localhost:5000 we should notice our “Hello World” message:
Now we are going to create a new HTML file inside public/index.html:
In this file, we declared two video elements: one for remote video connection and another for local video. As you’ve probably noticed, we are also importing local script, so let’s create a new folder – called scripts and create index.js file inside this directory. As for styles, you can download them from the GitHub repository.
Now, you need to serve index.html to the browser. First, you need to tell express, which static files you want to serve. In order to do it, we will implement a new method inside the Server class:
Don’t forget to invoke configureApp method inside initialize method:
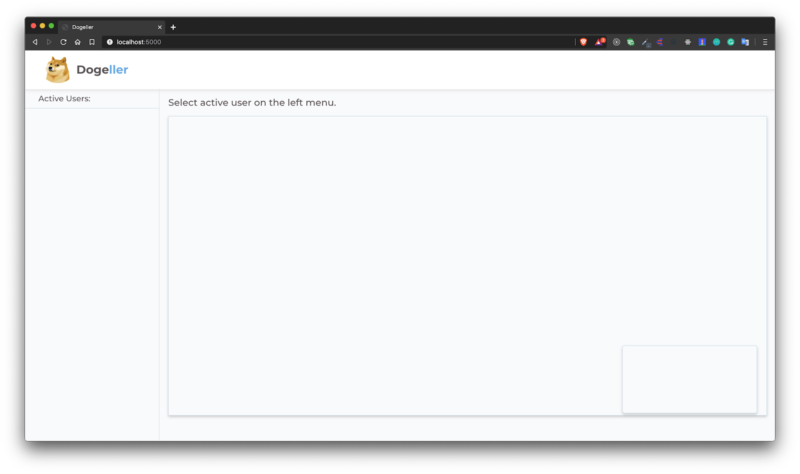
Now, when you enter http://localhost:5000, you should see your index.html file in action:
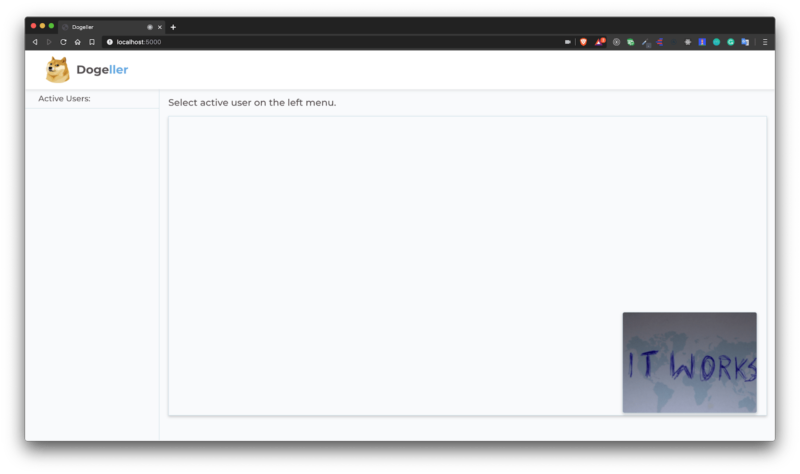
The next thing you want to implement is the camera and video access, and stream it to the local-video element. To do it, you need to open public/scripts/index.js file and implement it with:
When you go back to the browser, you should notice a prompt that asks you to access your user media devices, and after accepting this prompt, you should see your camera in action!
Read more expert JavaScript content:
How to handle socket connections?
Now we will focus on handling socket connections – we need to connect our client with the server and for that, we will use socket.io. Inside public/scripts/index.js, add:
After page refresh, you should notice a message: “Socket connected” in our terminal.
Now we will go back to server.ts and store connected sockets in memory, just to keep only unique connections. So, add a new private field in the Server class:
And on the socket connection check if the socket already exists. If it doesn’t, push a new socket to memory and emit data to connected users:
You also need to respond on socket disconnect, so inside socket connection, you need to add:
On the client-side (meaning public/scripts/index.js), you need to implement proper behaviour on those messages:
Here is the updateUserList function:
And createUserItemContainer function:
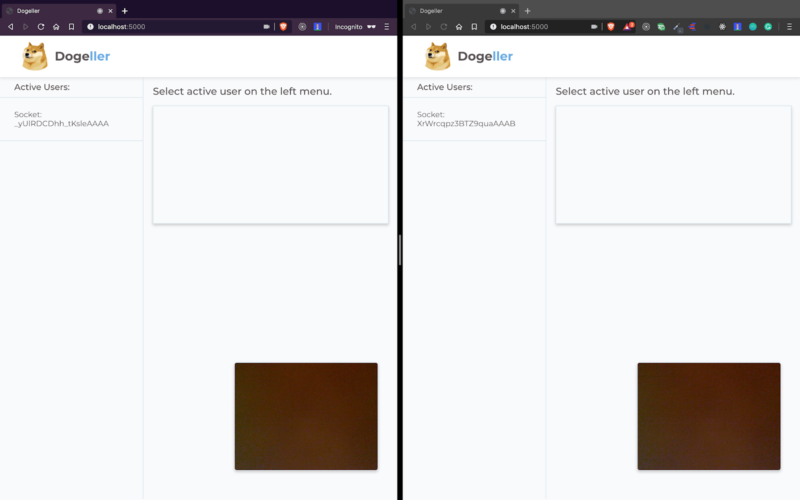
Please notice that we add a click listener to a user container element, which invokes callUser function – for now, it can be an empty function. Now when you run two browser windows (one as a private window), you should notice two connected sockets in your web app:
After clicking the active user from the list, we want to invoke callUser function. But before you implement it, you need to declare two classes from the window object.
We will use them in callUser function:
Here we create a local offer and send to the selected user. The server listens to an event called call-user, intercepts the offer and forwards it to the selected user. Let’s implement it in server.ts:
Now on the client side, you need to react on call-made event:
Then set a remote description on the offer you’ve got from the server and create an answer for this offer. On the server-side, you need to just pass proper data to the selected user. Inside server.ts, let’s add another listener:
On the client’s side we need to handle answer-made event:
We use the helpful flag – isAlreadyCalling – just to make sure we call only the user only once.
The last thing you need to do is to add local tracks – audio and video to your peer connection, Thanks to this, we will be able to share video and audio with connected users. To do this, in the navigator.getMediaDevice callback we need to call the addTrack function on the peerConnection object.
And we need to add a proper handler for ontrack event:
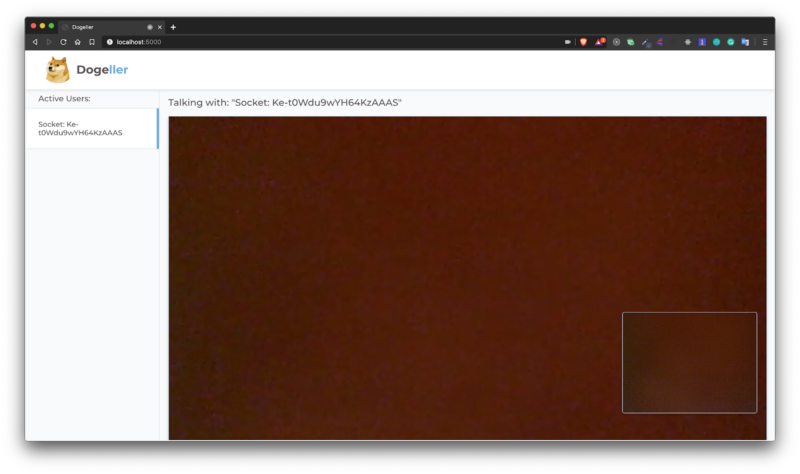
As you can see, we’ve taken stream from the passed object and changed srcObject in remote-video to use received stream. So now after you click on the active user, you should make a video and audio connection, just like below:
Read more expert Node.js content:
That’s it for the WebRTC Node.js tutorial – now you know how to write a video chat app with WebRTC!
WebRTC is a vast topic – especially if you want to know how it works under the hood. However, by this time you should know:
- how useful WebRTC can be and how popular this technology is becoming in 2023,
- why Node.js makes such a good combination with WebRTC,
- how to make simple WebRTC-based Node.js apps in practice.
Fortunately, we have access to easy-in-use JavaScript API, where we can create pretty neat apps, e.g. video-sharing, chat applications and much more!
If you want to deep dive into WebRTC, here’s a link to the WebRTC official documentation. My recommendation is to use docs from MDN.
Would you like to work with Node.js developers skilled in implementing real-time solutions?
In the Node.js- and AWS-based project for Reservix, we were able to develop a custom Amazon Chime implementation, which improved a CMS experience in a platform that processes hundred of thousands of events in real time.

