27 July 2021
Elastic Beanstalk tutorial – let’s dig deeper into the AWS (1/2)


If you’re a newbie or very short on time, configuring an environment for your application may be too complicated and time-consuming. You need to consider stuff such as monitoring, logs, security groups, VPCs, backup etc. You might make a mistake that will endanger the application and make it vulnerable to different kinds of attacks. There is a service that can help you with all that. Sit back and enjoy the practical Elastic Beanstalk tutorial.
In today’s article, you’re going to learn more about a service that provides solutions to most of the problems you could possibly have with app deployment on AWS. What is it exactly?
What is Elastic Beanstalk?
Elastic Beanstalk (EB) can prepare a whole AWS environment for you. That way, you can deploy your app and prepare an environment for it in a few minutes. EB will prepare EC2 instances, RDS database, load balancer with autoscaling, health checks, HTTPS certificates, logging and much more.
You only have to choose one of the predefined templates available (among them are Go, Java, Python, PHP, Nodejs and Docker), make some decisions on how you’d like this environment to behave and you’re good to go. You can also deploy a new version of your app easily.
Under the hood, EB is a special agent that uses predefined CloudFormation templates to set up a new environment and keep control of it.
Do you want to deploy a Node application Elastic Beanstalk? Check out this Elastic Beanstalk for Node article.
Benefits of Elastic Beanstalk
There are several reasons why EB may be an optimal choice for you:
- it automates infrastructure creation, taking into consideration AWS best practices guidelines so you don’t have to click through many different AWS services,
- all required configs are in one place so it’s easy to find the ones you need to change,
- you can automate it even more with the console tool EB CLI,
- EB supports plugins, which you can store along with your code. Plugins can contain configurations for different services, including EB itself. Thanks to that you can start your journey with infrastructure-as-a-code (IaC) before moving to more advanced solutions such as CloudFormation or Terraform,
- you can easily create many environments for one application (dev, staging, prod, etc.),
- it’s free (but you have to pay for resources it created),
- it’s PAAS (platform-as-a-code) so you don’t have to worry about security patches and updates of infrastructure elements.
Sounds good, doesn’t it? Let’s get to the actual Elastic Beanstalk tutorial!
Check out TSH’s Node.js development boilerplate, which includes support for deployment with Elastic Beanstalk.
Getting started with Elastic Beanstalk
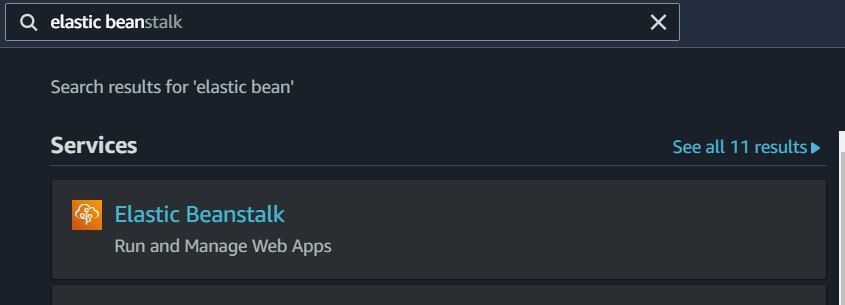
Just log in to your AWS console and search for the Elastic Beanstalk service.
When you land on the EB welcome page, click the “Create application” button. The EB application is a representation of your code.
Next, you need to provide the application name and choose a template your application is going to rely on.
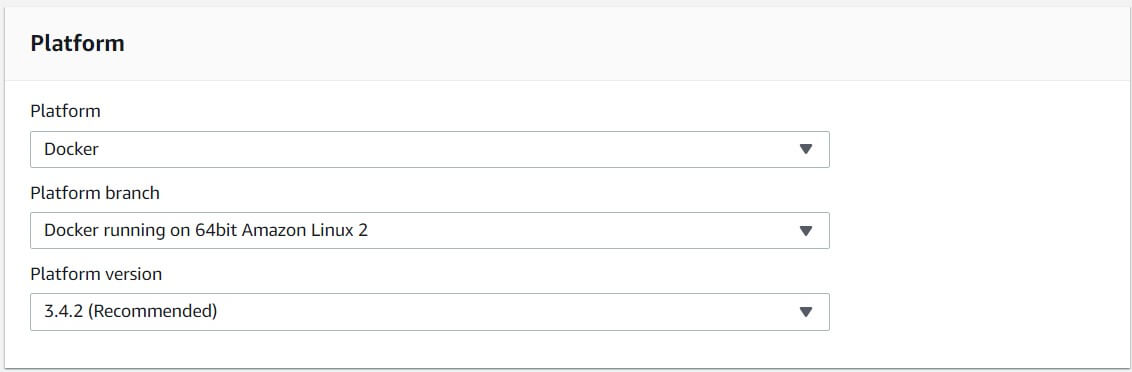
In this case, Docker based on Amazon Linux 2 is selected. This is relevant here because Amazon Linux 2 allows you to use docker-compose.yml file directly and it can build Docker images. If you chose the first version, you’d have to use dockerrun.aws.json files and that requires additional work and knowledge.
In the Platform version field, it’s usually good to use a recommended version (EB has its templates updated regularly).
Below, you should choose the code you’d like to run in a new environment. If you don’t have anything ready, you can choose Sample application. Very simple code will be then uploaded so you can start experimenting with EB immediately. Here is some code ready so you can use it in this tutorial.
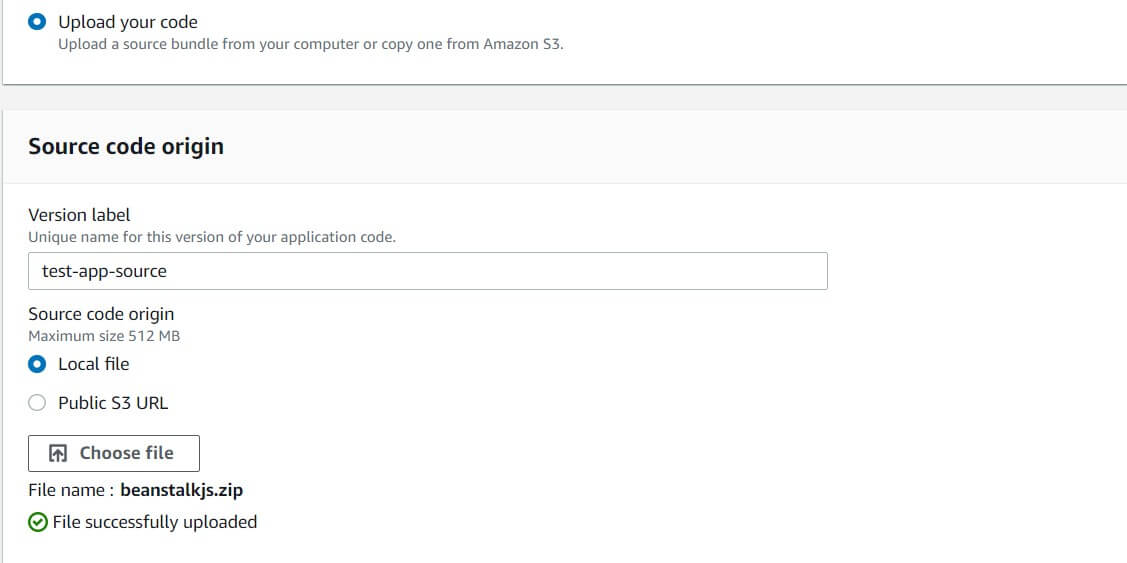
This application creates random data, saves it to the database and then lists all created entries (one entry per request is created).
You can now click the “Create application” button and you’re good to go. Well… that’s not the case yet. You still need to configure a few more things, but thanks to the Elastic Beanstalk, it will be easy. For now, you should go with the “Configure more options” button.
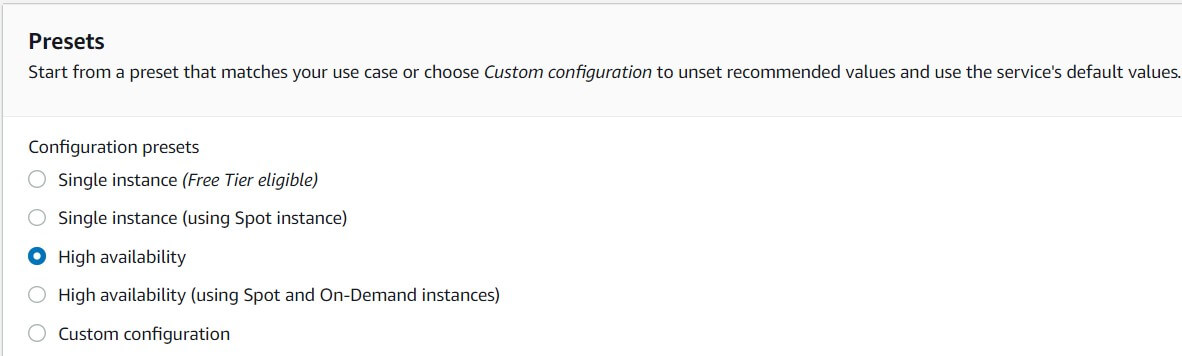
You can select one of the presets. This tutorial uses the High availability preset. Below you can see 12 modules, which can be configured. After selecting the preset, some of them will be updated. What’s inside them? Quite a few interesting things:
- Software – here you can enable logging with rotation and choose a proxy server if you need one. Also, you can set environment properties, which will be passed to the app as environment variables.
- Instances – here you can determine the type of storage you’d like to use along with EC2 security groups if you want to use any created earlier.
- Capacity – here you can enable load balancing and determine auto-scaling parameters for your environment (how many instances you’d like to use and which metric determines adding/removing them).
- Load balancer – here you can choose the load balancer type, configure listeners and processes for it. You can also enable logging.
- Rolling updates and deployments – here you can determine the deployment policy for our auto-scaling app. You can also decide how EC2 instances should be patched.
- Security – you can modify EC2 security stuff here (EC2 key pair, IAM instance profile).
- Monitoring – here you can configure health reporting for your application and log it to CloudWatch.
- Managed updates – you can determine whether and when you want to update your EB platform version if a new one will be prepared by AWS.
- Notifications – here you can provide an email address, where you’ll be notified about critical environment events such as failures.
- VPC – you can configure an EB environment to be part of a VPC.
- Database – EB can create a database for you and send connection options to your app through environment params (but they won’t be visible in the Software module).
- Tags – you can add some tags to find your environment more easily.
As you can see, there’s a lot of stuff. In this tutorial, only a few of these modules will be edited. First of all, you should get a Postgres database where the data will be saved. For that, it’s necessary to edit the Database module. Here are the options selected:
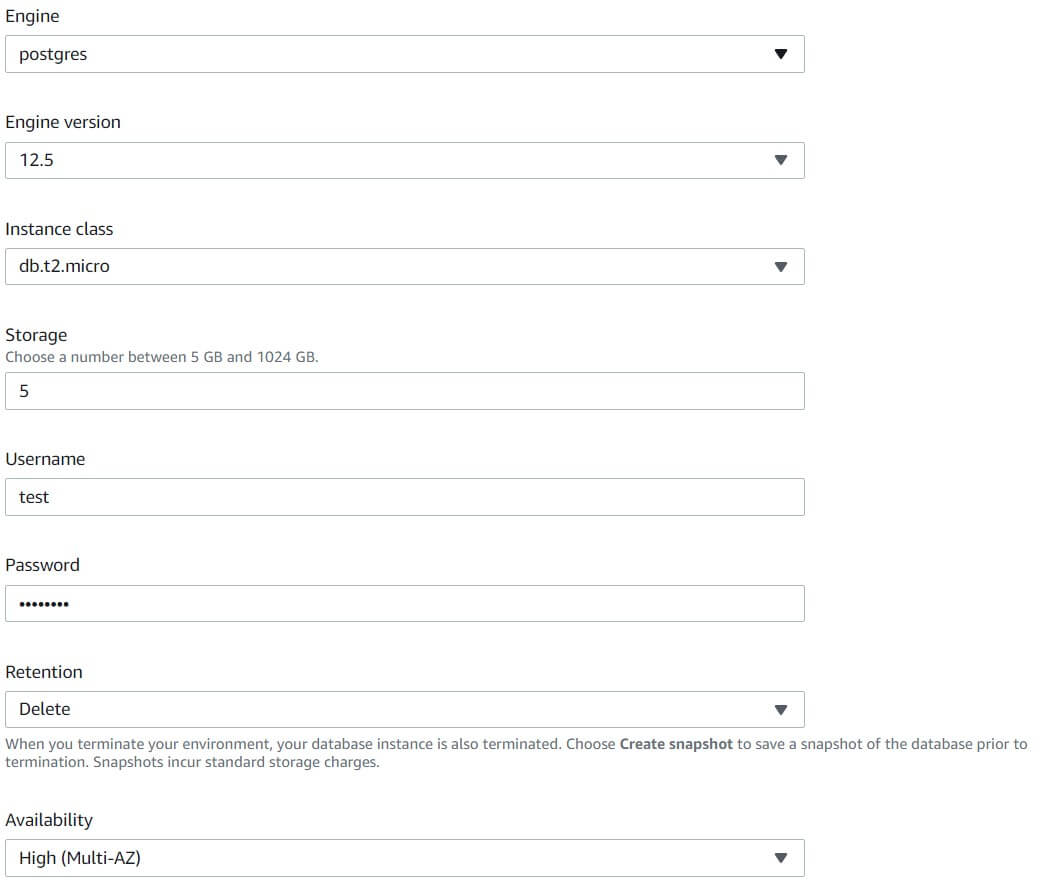
As it was mentioned before, connection params will be available as Environment params. Here is an example of how you can access them in the Nest.js app.
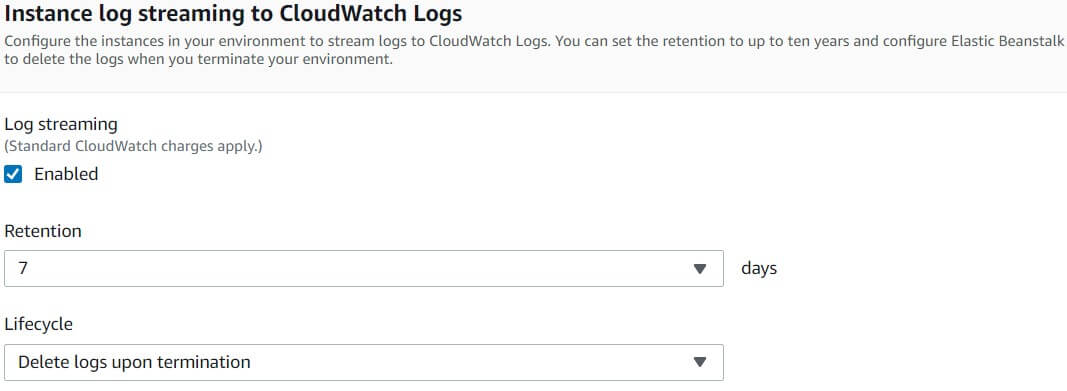
After saving database changes, it’s time for the Software section. In the Container Options section, the None is selected, because the example app doesn’t need a proxy. Additionally, logging is enabled.
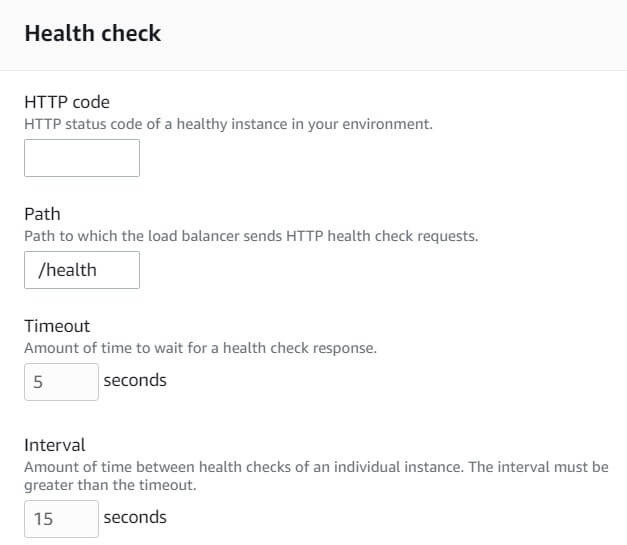
Last but not least, you should update the Load Balancer module. You’re going to have to edit the default process to change the health check path.
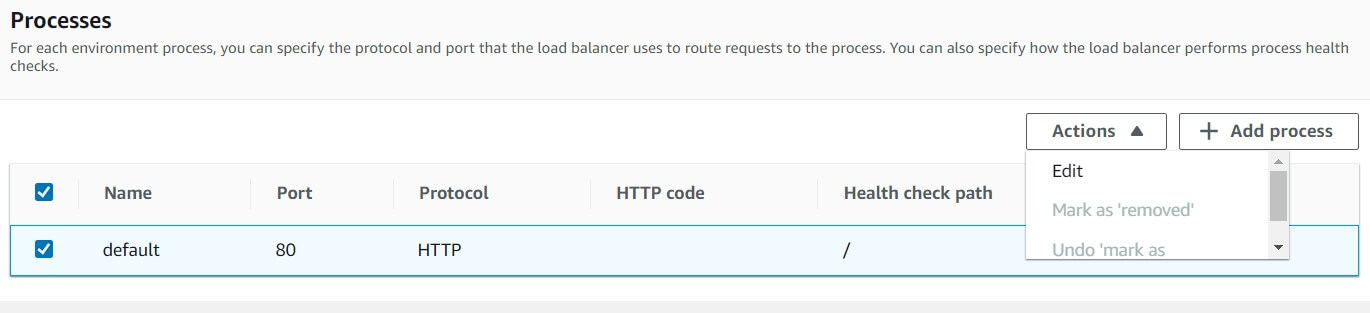
Change it to /health.
Now you need to click the Create app button. You will be able to see the progress of the app deployment.
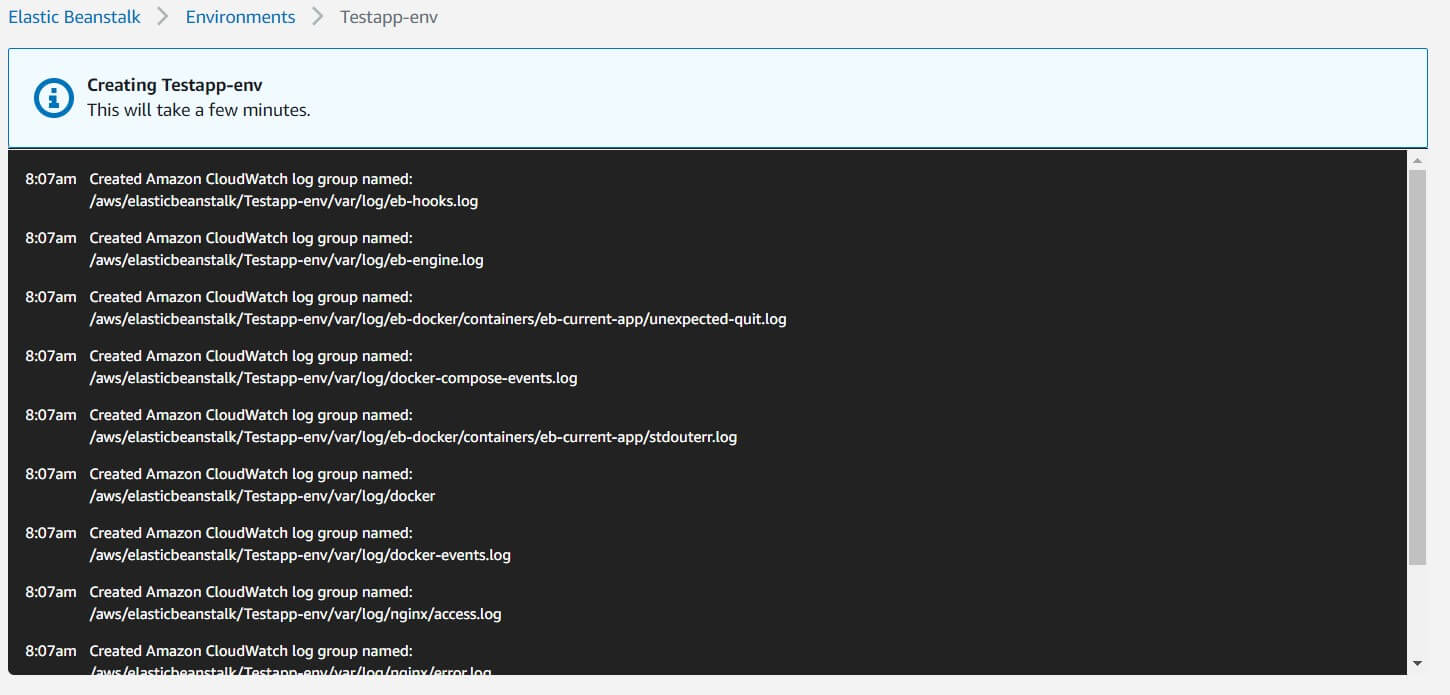
Environment creation should take no longer than 10 minutes unless you have a very time-consuming image building process or AWS is very busy with other things. As you can see from the log, EB creates all required things such as security and log groups. Subsequently, the RDS instance, load balancer and EC2 instances are all created and configured.
When the whole process is done, you should be automatically redirected to a dashboard of the new environment.
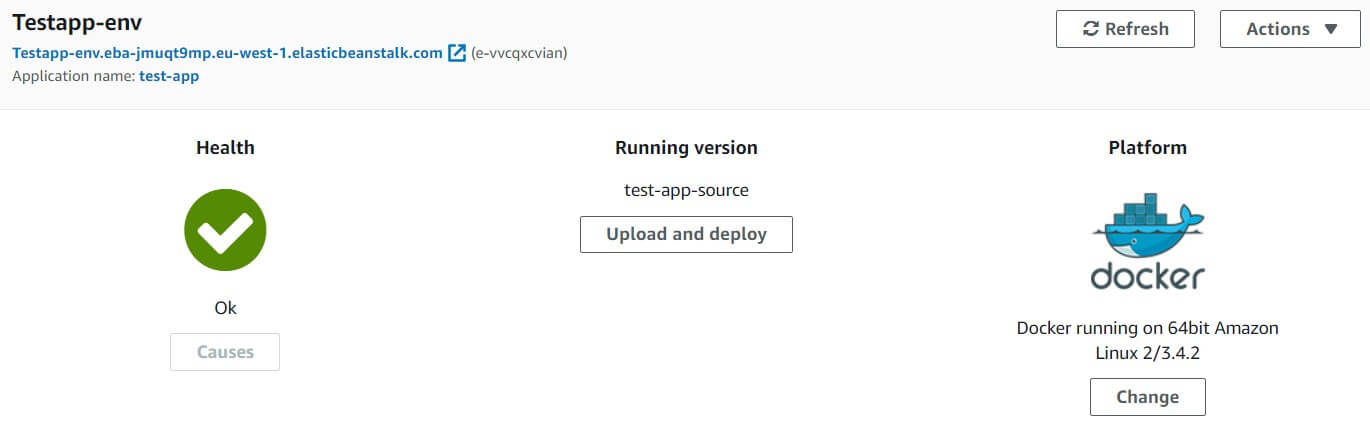
As you can see, the environment is healthy and now you can use it with the URL provided. Everything works!
Elastic Beanstalk tutorial – summary
As you can see, deploying an application into a well prepared AWS environment is quite easy and not very time-consuming.
Still, there are many more things to explore. I’d like to introduce you to EB CLI, extensions and a few other interesting things, but let’s leave that for another time. For homework, please take a look at the app I deployed today. In the next article, I’ll explain more of what’s going on there.
See you then!
There is a lot more to efficient app deployment with or without AWS!
If you’re using microservices, checkout our State of Microservices 2020 report to learn more about app deployment with microservices from +600 experts!

