Back to all blogposts

How to use finite state machines in React? Explained by a frontend developer

Kacper Witas

Kacper Witas

Frontend Developer

Finite state machines in React might be an unusual topic since they are not often linked with frontend development. However, I have this really awesome trick that works miracles in complicated software projects, especially by boosting security.

What are finite state machines?

The finite state machine (also called the finite state automaton or finite state automata) is a mathematical model of computation (abstract machine) that describes the system’s behaviour, alternative to other similar models such as the Turing machine. It consists of all possible states of the given object and transitions between them. When compared to the Turing machine, it has less computational power. This computational power distinction means that the computing ability of a FSM is more limited, due to the finite number of states it has (otherwise we would be talking about infinite state machines). What’s more:

The main rule of a state machine is that it can only be in one state at any time.

Since finite machines produce certain actions based on a proper combination or predetermined sequence of events, you can find examples of FSMs everywhere in our modern society. Those include everyday objects such as a vending machine, elevator, or even traffic lights.

Finite state machines examples

A perfect finite state machine real-life example would be traffic lights. If you think about the traffic lights you have the following:

States:

  1. Stop – red light
  2. Get ready to drive – red and yellow light
  3. Drive – green light
  4. Get ready to stop – yellow light

Transitions:

  1. Stop → ready to drive
  2. Ready to drive → drive
  3. Drive → get ready to stop
  4. Get ready to stop → stop

As you can see we have a finite number of states and transitions. Plus, traffic lights can only be in a single state at any time. It means we’re dealing with a finite state machine here.

What’s more, by implementing finite state machines you make a contract that a situation NOT described by the machine model won’t happen. Using the traffic lights example, the situation that traffic light omits the yellow light and changes straight from green to red will never happen (unless you re-define your contract).

Okay, but what finite state machine has to do with software development and computer science?

Well, actually a lot. Especially for game development where finite state machines are used plenty.

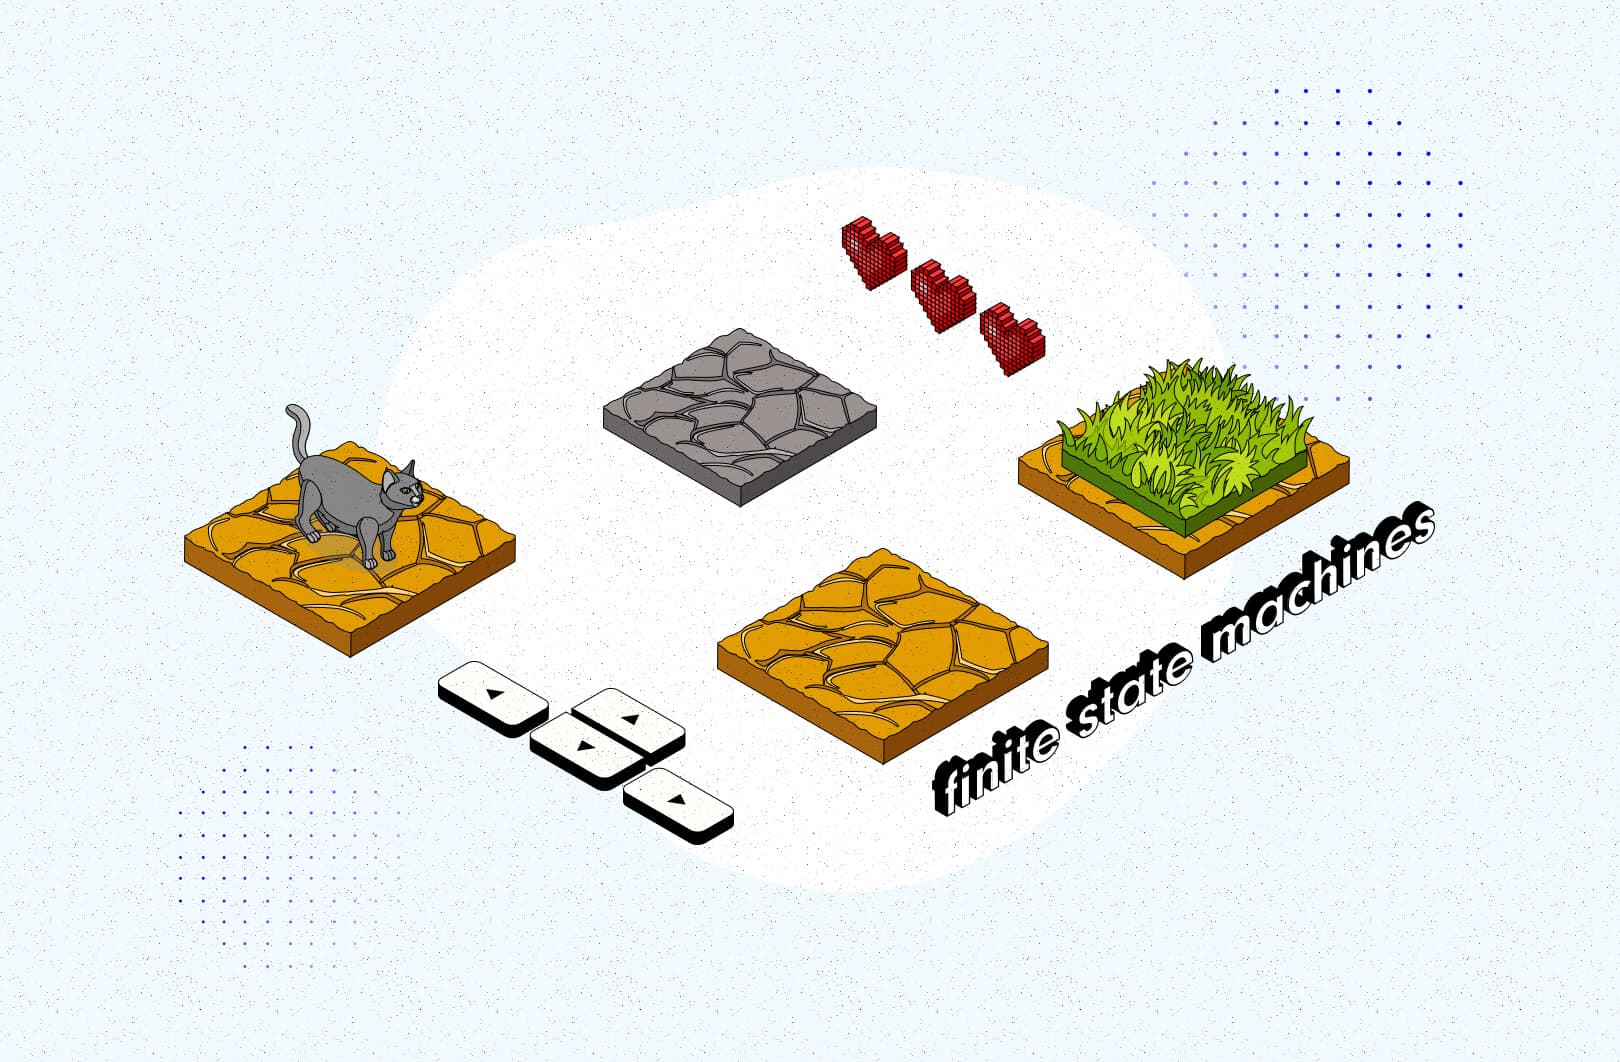
Think about a 2D indie game with the main character being a cat. Pressing keyboard keys can trigger events like “run”, “slide”, “jump” or “stay”. The game reacts to a new state and triggers different animations of a cat, so we can define this finite state machine as follows:

States:

deterministic finite state machine cat run

Run

deterministic finite state machines cat slide

Slide

finite state machines cat jump

Jump

finite state machines cat stay

Stay

And from the code point of view, it reacts to keyboard events:

  • Arrow up – triggers jump event that sets “jumps” state,
  • Arrow right – triggers run event that sets “runs” state,
  • Arrow down – triggers slide event that sets “slides” state,
  • Arrow left – triggers stay event that sets “stays” state.

Pretty cool cats but will you finally show me any state machines in frontend development?

Indeed. But I wanted to make sure that you are comfortable with the finite state machines concept and use cases before moving to frontend stuff.

First of all, you probably won’t find that many state machines in frontend apps. I think the main reason behind this is that it’s not the easiest nor the fastest method.

I would compare finite state machines with using TypeScript in a software project. It will slow you down a bit. It will bring a little layer of complexity. But in the end, everyone will benefit from it.

💡 And if you need convincing that TypeScript is the best thing since sliced bread...

To prove to you that this statement is not groundless, I will show you an example of implementing finite state machines in React app I’ve written especially for this article. The dedication is real, people!

This is a very simple app that contains only a signup form divided into three parts. Each part is rendered on the screen based on a given state at a given time. So the form will look something like this:

finite state machines classic form
Good enough form, no?

Signup form in a React app, the classic way

Let me quickly show you my approach to implement the aforementioned form.

First of all, you need to define all the parts, their components and their initial state:

Now it’s time to define state:

And the component itself:

At the very first glance, this approach seems fine. The form switches to the next and previous parts. But can you spot a bug here? Take a 1-minute break to figure it out.

And the answer is…

.

.

.

.

.

.

.

.

.

There are no guards on handlers! This means you can go below 0 and over the maximum step.

We’re not going to leave it like that, so let’s fix it

And we’re good! For now…

Here come the risks

The code works but the classic implementation has some potential risks.

In software development, it rarely happens that you’re the only one programming, but rather work in a team. This means a lot of other developers going through your code, trying to understand it and probably modify it.

Imagine that someone implemented this function on the top of your form:

This is a great example of a bad state. Step three just doesn’t exist in our form.

Another example:

Can you see what’s wrong? Why would someone skip a step if all steps are required in a given sequence?

And another one for you. The last one, I promise:

You’re probably wondering what happens if any of these wrong states goes into production. Well…

finite state machines classic form broken
I mean, eww…

Meh, this doesn’t look like a big issue

Maybe it doesn’t. But keep in mind that my example is trivial. Think about bigger and more complicated projects, e.g. fintech apps for banking and money transfers.

Wouldn’t it be easier if you defined all possible states and transitions in one place? Something like a contract that you look at and see the whole logic there, be sure that nothing else and nothing less will happen.

That “something” is the finite state machine.

Do you like this tutorial so far? It's only gonna get better, so read on

But if you’re interested in more articles like this, we have a free, bi-weekly newsletter Techkeeper’s Guide, personally curated by our CTO and co. No spam, only top-quality content. 📧👌

Refactoring the form to finite state machines

First of all, let’s focus only on the onNext and onPrevious functions. We want to make a machine described as a model that has:

States:

  1. Company
  2. Director
  3. Contact

Events:

  1. Next → transition to next state in order,
  2. Previous → transition to the previous state in order.

So the implementation looks like this:

Now, break it down. createMachine takes an object made of by:

  • id – a unique identifier,
  • initial – the name of the initial state,
  • states – object containing all of the states where the key is the given state name and value is an object describing the state.

Heck, break down the “director” state even more:

  • has the name – “director”,
  • reacts to two events: “previous” – sets “company” state, and “next’ – sets “contact” state.

Visualisation of finite state machines in xstate

Thanks to xstate developers, you can paste that code into the great xstate visualizer. This tool shows you all the possible states and events of your finite state machine.

This is how your state machine looks like:

Cool, isn’t it?

I know, it seems a lot of coding for such a small feature. While I agree this may feel a bit over-engineered but read further. I promise you will be more convinced that finite state machines are worth the hassle.

A 9-step plan for adding more features

Seems like we implemented the finite state machine, but we forgot about the most important thing. We have to refactor render logic, so we render the right component for a given state! It’s time to implement some context to our finite state machine.

Step #1: Add type definition for the context

Step #2: Add function which maps state name to the component

Step #3: Add context to the machine definition

Step #4: Define a function that will change the context

Step #5: Add this function as a machine action

Step #6: Trigger this action from previous and next events

Step #7: Add useMachine hook to our component

Step #8: Send events to machine from onPrevious and onNext functions

Step #9: Read the right component for the current state

We’re almost done!

Security in finite state machines, aka making our form even safer

Remember the problem we had before with the classic approach?

Steps and Views are decoupled. We’re mapping through values of the step-to-render paginated progress panel and using its current index to render given elements from the Views array.

How could you implement this in a better way in our finite state machine? I would start by changing the context a bit:

…then changing the map function (note that I decided to change the function name as well!):

And finally adding some type-safety to our machine, move types and helpers to different files.

This is how the code looks like now:

formMachine.types.ts

formMachine.actions.ts

formMachine.ts

App.tsx

How to use state machines in React? Summary

“It still looks complicated, man…” Maybe, but again, keep in mind that you could’ve been working on a super serious project for a super serious company where the tiniest bug can cost lots of super-serious money.

With my approach simply a state machine was made that:

  1. Is type safe – you cannot use a state which is not defined in your type. Otherwise, it will result in a compilation error.
  2. Is free from wrong states and wrong transitions – there’s no way that someone would go from part 1 to part 3 without changing machine definition.
  3. Has described the whole logic in one place – self-explanatory.

Aaand that’s it! 😸

💡 If you liked my tutorial, maybe you’ll love this other content from my frontend colleagues:

Interviews
CTO vs Status Quo

Find the exact rules Tech Managers used to organize IT & deliver solutions the Board praised.

Read here

The Software House is promoting EU projects and driving innovation with the support of EU funds

What would you like to do?

    Your personal data will be processed in order to handle your question, and their administrator will be The Software House sp. z o.o. with its registered office in Gliwice. Other information regarding the processing of personal data, including information on your rights, can be found in our Privacy Policy.

    This site is protected by reCAPTCHA and the Google
    Privacy Policy and Terms of Service apply.

    We regard the TSH team as co-founders in our business. The entire team from The Software House has invested an incredible amount of time to truly understand our business, our users and their needs.

    Eyass Shakrah

    Co-Founder of Pet Media Group

    Thanks

    Thank you for your inquiry!

    We'll be back to you shortly to discuss your needs in more detail.