24 July 2018
Five simple tips to increase application accessibility
When you’re planning to develop a beautiful, user-friendly app with an intuitive interface, you need to consider a lot of factors. Its design, components, and functions. Even if you think that your project seems perfect, there may be a few, seemingly irrelevant details that you have skipped. A few small features can significantly improve the user experience for those with disabilities. Below I’m presenting five simple tips on increasing application accessibility.
It’s 2018. Companies are running out of excuses not to introduce application accessibility. But how to do this exactly? I’m going to over a couple of practical tips from my experience as a QA specialist. But first, let’s make some things clear about accessibility.
Introduction to application accessibility
The internet may be very useful, but it isn’t universal. Unfortunately, it can’t fulfill all users’ needs in the same way. For those who suffer from visual or motor impairments, there are dozens of possible challenges behind each website and application. Not every developer takes it into consideration. But building a disability-friendly website or application is way simpler than you may think!
I’ve written this post to share an opinion based on my experience and research. I have a slightly broader overview of this topic, as I see it from two perspectives.
It’s because, two years ago, I was a completely healthy person, being able to use all applications. Now, I have problems with seeing. Also, my motor skills are limited. That’s why some of the apps aren’t as useful for me as they used to be.
The first question is: what does “a disability-friendly application” mean? Is it an application that helps people with disabilities, an alternative version of a regular application, or rather an app that is adjusted and easily accessible to users with disabilities? Let’s try to answer this question by pointing out a few tips which may make your application even more user-friendly.
1. Set alternative texts for all images
Sometimes, when I have a really bad day, my world looks like the palm on the photo below. It also reflects how I see the images on the screen of my phone or PC.

When the user is unable to see the pictures, maps or icons properly, alternative texts are something really helpful. Lack of alt texts sometimes makes the images “invisible” to the users who have vision impairments and avail themselves of screen readers. Adding proper alternative texts (alts) to all the images let users “see” them in every circumstance.
So, what makes an alternative text “proper”? Here are some good practices:
- if a photo shows something general, the description should briefly name an object; for example: “a photo of a town and a tree”;
- if an illustration is being used to provide detailed information, the description should be more specific: “a photo of a palm tree on the roundabout in Warsaw”;
- if an image is a link to another page, its short description should describe the link’s destination, not the image. For example, an image of a question mark – a link to the help page should be described as “help” rather than “question mark”;
- if there’s a map on a picture, its short description may name a location shown: “a map showing the location of John Harvard statue”;
- for icons, their alt texts should be the equivalent to the information provided by the icon, such as “.pdf document” (however not all icons need an alt text, we’ll discuss it in a minute);
- for images that require a long description, consider using a figure caption; thanks to this – the descriptive information is available to all the users.
If you have any doubts regarding the alternative text you’ve used, there are some online tools that may help you audit it. One of these is WAVE Chrome Extension. It provides feedback about the accessibility of your web content.
Even though it’s important to prepare alt texts for the images – not all of them need it actually. For example spacers, icons or CAPTCHA don’t need alts. Icons are very often used to complement the text, so there’s no need to duplicate them. Spacers are the images used for padding, and they present no information, while CAPTCHA has a default audio alternative.
2. Provide sufficient colour contrast
Another important thing is colour contrast. Insufficient contrast between the text and the background can cause some difficulties for colour-blind users. The minimum luminance contrast ratio between the text and its background makes the text more readable even if you can’t see the full range of colours.
Some good practices:
- for interactive elements on the page, such as the buttons and the form fields, any visual boundaries that indicates the component’s hit area should have sufficient contrast with the adjacent background;
- visual effects which, for example, indicate if a component is selected or highlighted should provide the minimum 3:1 contrast with the background.
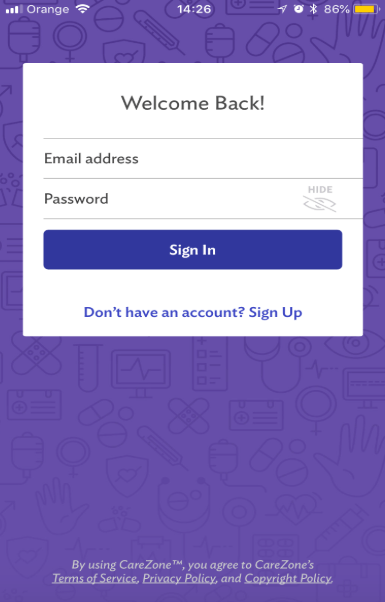
There are some applications to help you adjust the design of your app to make it user-friendly for people with visual impairments. Sim Daltonism uses the camera to apply a filter on an image to help you visualize colours as they’re perceived by the users with various types of colour blindness. Colour Contrast Analyser may be useful to set a proper colour contrast in your app. Alternatively, one of the Google developer tools can help you determine if the colour contrast on the current page is adequate. Under “Audits”, you can check “Accessibility” to run and audit the current page.
3. Make all the content keyboard operable
When you suffer from visual or mobility impairment, the mouse may be a difficult tool to use. Sometimes there’s no easy way to figure out where the mouse pointer is located. Also, it may be difficult to move the mouse if your hand is shaking. In both cases, navigation can be much quicker and easier if keyboard commands and shortcuts are used to get around. It’s also important to remember about activating all the links and buttons.
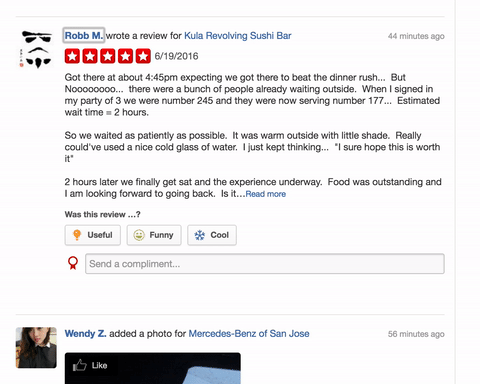
In this case, testing is very simple and doesn’t need any special tools to go mouseless. To sum it up: everything we normally do with a mouse should be possible to execute with the intuitive use of a keyboard.
4. Make focus order visible and logical
Firstly, it’s important to make sure that the focus order is logical. Secondly, to use CSS and provide a clear visual indication of when links, buttons and other active elements receive focus. Below is a pretty bad example – the menu link “Categories” is skipped and never receives a focus.

On the other hand, a good example from Twitter – when a tweet dialogue is shown, the focus never leaves the dialogue itself.
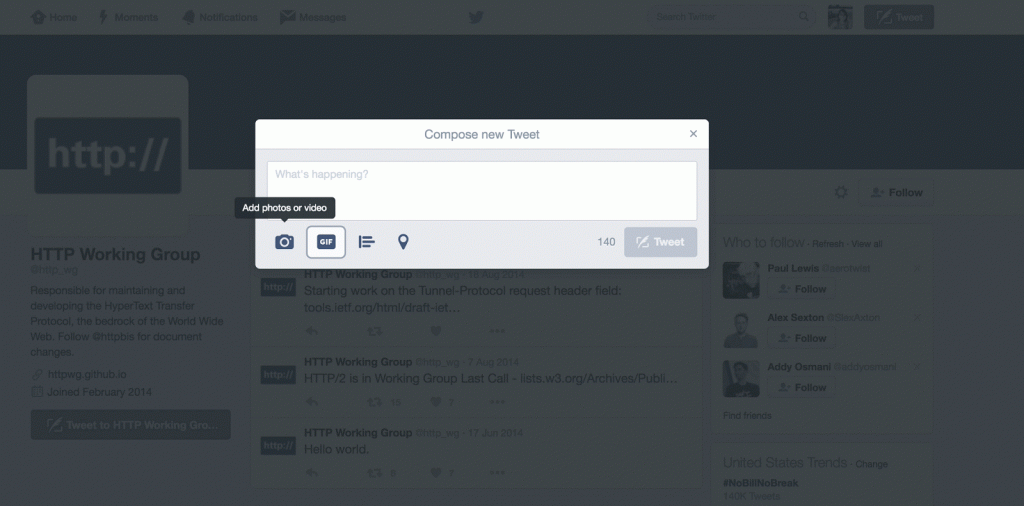
How to test if everything works properly on your website? It’s enough to use a tab key and move through every active element. If you haven’t found unexpected jumps to other locations/subpages or lacking focus, it means that everything’s fine.
5. Include an accessibility guide
Including accessibility, the guide may be a good solution but it’s not necessary. Below is a good example which I’ve found on the BBC website.
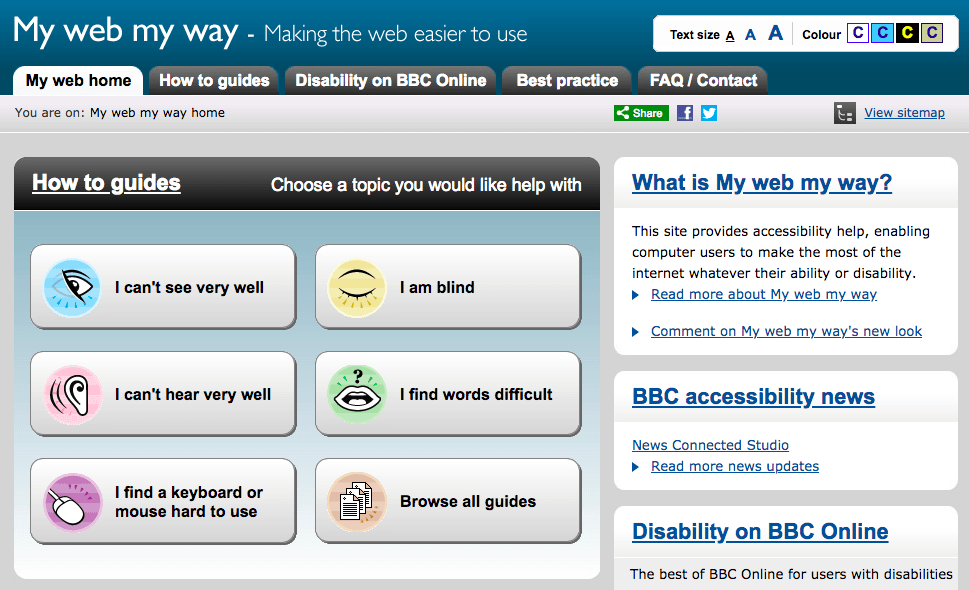
While providing such a guide is not always necessary, I think it should be obligatory to at least inspect a web page using a very simple screen reader like a free Google Chrome extension, ChromeVox. It allows you to experience how assistive technology works. It’s very useful if you think about creating easily accessible applications.
See also: Hybrid mobile apps in 2018: React Native vs Xamarin
Application accessibility in 2018 – conclusions
Now, we can answer the question asked at the beginning:
A disability-friendly app is nothing else but a regular application that is adjusted and easily accessible to users with disabilities.
Remembering these few, simple tips may help you create an app equally useful and easily accessible for all users. A small amount of work and goodwill may make a huge difference for the them.

